This guide will tell you all you need to know to create a recording using a 'Discovery Kit 8, we recommend that new users follow this guide for their first recording.
Contents of this article:
- What is a Discovery Kit?
- Instructional Video
- Prepare the Equipment
- Recording
- Reviewing your Reflection
- Troubleshooting
-
FAQ
What is a Discovery Kit?
The IRIS Connect Discovery Kit is a portable recording kit that allows you to capture footage from two different angles and have the videos merged together into one Reflection.
The kit includes:
- First device to capture audio and video, housed in a tripod
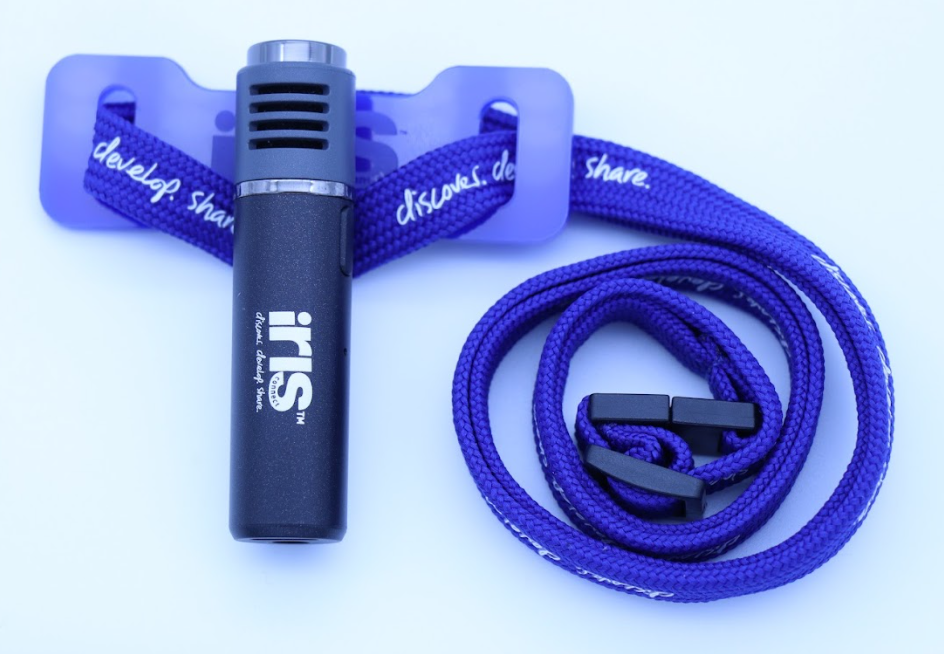
- Bluetooth microphone with a lanyard
- Secondary device to capture audio and video, also housed in a tripod
- Bluetooth microphone with a stand
- USB charging hub and cables (4x)
- Earpiece for Go-Live coaching (additional purchase required for the feature)
- 2 x Velcro strap to secure the tripod when extended
- Case to store and carry the kit
- Some Discovery Kits include two devices (Android or iOS)
Not sure which hardware you have? Click here to identify your hardware.
Instructional Video
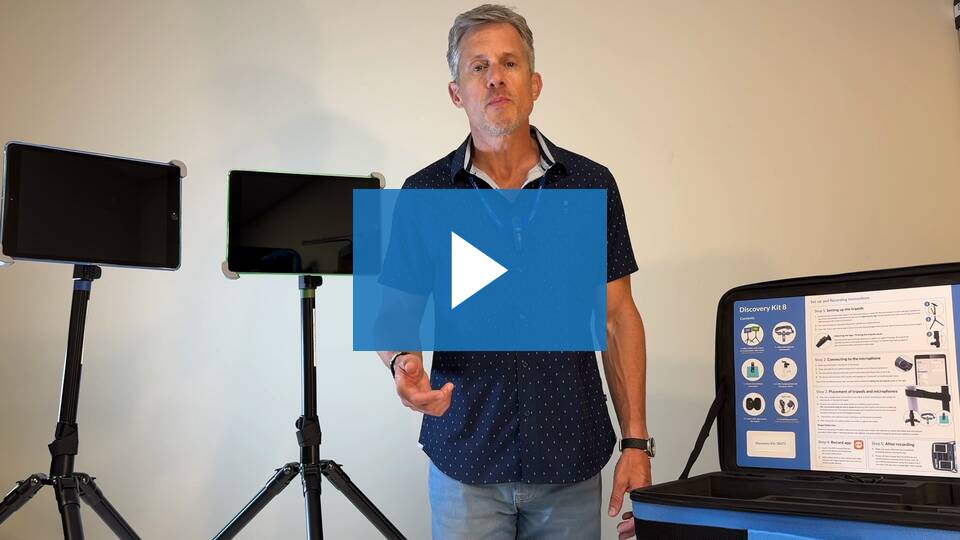
Discovery Kit Training Video 2024
Step-by-Step Instructions
Prepare the Equipment
WARNING! Make sure that all devices are fully charged before you attempt to start a recording. You may get a low power icon flash up on the screen or the Bluetooth microphones will flash red. If this happens, charge the devices with the supplied power cables.
Prepare the Devices
Remove the tripods (and devices that should be attached) from the case. The devices do not need to be removed from the tripods or device holders, but if they have become detached you can reattach them by pulling the end of the holder to extend it. To turn on the device, hold down the power button.

Open the Record app
On both devices, open the IRIS Connect Record app.
The app should be located on the home screen, you can use the search function if you cannot locate it. Once you find the app icon (as displayed), simply tap it to load the app.
If the app is already downloaded, your organization is likely using our MDM (Mobile Device Management) system. If this is the case, open the Record app and move onto the next step. If you're using your own devices, you may need to download the Record app from the Apple app store (iPad) or the Google play store (Android).
NOTE: Software Update
If you are prompted for an update at this step, please follow the on-screen instructions to install the app update. Ignoring an update may affect our ability to process your reflection.
If using Android devices on the Mobile Device Management (MDM) system, you can update your device by clicking the down arrow faded icon on the right side of the home screen as shown below:
If using iPads on the Mobile Device Management (MDM) system, your app should update automatically, remember to keep your iPad open for the automatic update to begin.
Run the System Check
You will be prompted to run a System Check when you open the Record app for the first time.
If your Kit has not been used for a while, we encourage you to run another System Check. To access this with the Record app, visit the Menu (icon with three horizontal lines), then click System Check. Follow this guide for advice regarding any failed tests.
Connect the Bluetooth Microphones
Turn the microphones on by pressing the side button for 1-2 seconds until you see a light indicator flash. The microphone icon on the right-hand side should turn to green.
Bluetooth microphones are paired out of the box, ready to use on your first recording. If you do need to pair the microphone to your device please follow this guide, Pairing to a Bluetooth Microphone.
Pair the Devices
This step needs to be done only once when you initially set up the kit. After that, the devices will pair automatically as soon as the Record app is opened on both devices with Bluetooth on. However, always double check the devices are paired before starting a dual recording.
If you're setting up the kit for the first time, ensure that the Record app is open on both devices, and then tap on the pairing icon on the right-hand side of the screen of the primary device only.
Then, select your other device, in this case called: iPad, and select it. You may have to Accept the pairing from the other device. Once they are paired, you will see green "Connected" next to the paired device.
You can also tell the devices are successfully connected by the pairing icon, indicating the devices are paired by turning Green.
Recording
Sign in
When the devices are connected, tap 'Sign in' on the device chosen as the primary.
If this is your first time using the kit you will need to add your account, tap on Add User.
An internet connection is required for this step.
Once you have verified the account, the login will be saved to the device for easier login access. (Account is still secured with the password required).
Once you have signed in, you will see a red Record button on the left-hand side, in replace of the Sign In button.
Position the Equipment
Cameras
Consider where you place the equipment to capture the best possible footage of your session.
You can select either the front or back camera under the camera settings menu.
Tripods
Place the tripods either on the floor, desk, or shelf and extend or decrease the central pole to the desired height.
If the tripod is somewhere it might get knocked over or if it's extended high we recommend using the velcro strap included in the small black case to secure it to a table leg or similar.
IRIS Connect does not take financial responsibility for any damages caused by incorrect or unsafe positioning of the equipment.
Microphones
The Bluetooth microphone with the blue lanyard is intended to be worn by the educator.
The Bluetooth microphone with the green stand is designed to be placed on a desk or table to pick up sound from around the room.
Recommended placement of devices:
Record
Once you have positioned your Discovery Kit in the correct position, you are ready to record. Simply tap the red Rec button on either device. The two devices will then begin recording in sync.
You will see recording time and file size indicators in the bottom right corner, and the Rec button will turn into a Stop button.
By default, the screen will fade to black when the recording starts. This is to stop people in the room from being distracted with the video feed. You can change this by tapping the settings icon and turning the Screen Fade setting off.
Once you have completed the recording, tap the Stop button. You will then be able to either delete or save the reflection, as well as give it a name (default name will always be generated).
If you do tap delete by accident, you will be asked to confirm the choice. If the recording is deleted at this stage, IRIS Connect has no way of restoring it.
Once saved, the video will begin to upload. Tap the cloud icon on either device in the bottom left corner to see the progress. The primary device reflection will upload first (provided you're connected to internet), and the secondary will follow.
If you have any issues with uploading, please look at this guide or contact IRIS Connect Support.
Reviewing Reflections
Once your reflection has been recorded and uploaded, the files are removed from the devices and saved onto the IRIS Connect servers. You can view your reflection in two different ways, either on the 'Online Platform' or the 'IRIS Connect Platform App' (this can be downloaded from the app store).
Find out more information on Reviewing/Sharing & Editing here.
Troubleshooting
Record app not Uploading
If you're having difficulty uploading a reflection, view the Record app not Uploading guide to troubleshoot your issue. You can also contact IRIS Connect support.
Bluetooth Battery
Bluetooth microphone flashing: if the microphone is flashing red, this is an indicator that the device is low on charge. We recommend charging until the light turns to a solid Green Find more information about the Bluetooth microphone here.